We have developed several useful conditions that we are ready to share with those who wisely learn from the mistakes of others.
First condition: the event must be prepared
Bringing a ladder, installing it securely, climbing up with a hacksaw, and seeing that you will also need pruning shears and a garden knife – this is not the worst thing. It’s worse if something painful is discovered and you have to urgently look for disinfectant compounds. And there, at the top, it turns out that this branch, which was chosen for pruning, is still quite decent, but the neighboring ones are damaged and the stairs need to be rearranged. 3-4 trips to the tree and back, a couple of circles with a ladder around the tree noticeably moderate the ardor of gardeners.
For pruning, you need to prepare :
- a tool that must be sharp – pruning shears, a garden saw, if necessary, a hacksaw or even a chain saw, a construction knife with replaceable blades;
- depending on the height of the tree – reliable stairs, stepladders;
- compositions for processing saw cuts and sections, detected wounds, disinfection of instruments;
- a bag with pockets, where everything relatively small can be folded and hung, for example, on a twig.
Second condition: decide on goals
Beginning gardeners, inexperienced gardeners, and those who are “in large numbers” are often characterized by excessive enthusiasm. And there is a completely erroneous belief that now we will form and improve our trees, and we will have a garden for all of us. But it doesn’t work that way! Trees have their own goals, they will stubbornly stick to their line, and the gardener will stick to his. Eternal battle.
First, you need to come to terms with the fact that pruning will be annual. Even sanitary – removal of dried shoots, and diseased shoots growing inside the crown, and tops. The most practical solution for most gardeners is to leave it at that. Those who are not looking for easy ways and are planning a significant adjustment to the shape and volume of the crown, or want to create something special, will need theoretical preparation. And you need to be prepared for the fact that a summer uniform will be added to the spring uniform.
All this will need to be done annually. Details in the material: Spring pruning and shaping of fruit trees – when, how and why
I sincerely advise that if you want to start shaping, first select one tree as a “victim” and practice on it for at least a couple of seasons. We then nursed our first “victim” for two years.
Third condition: choose the right time for pruning
While there are frosts, it costs nothing to cut so that the tissues of the cuts do not freeze. The best temperature is near 0 degrees, approximately ± 1°C. And at night, so that it doesn’t drop below −5°C. That is, you need to work hard with the forecasts of different sites. Taking into account folk signs and watching how a cat sleeps is a very reliable guide. Assess the possibility of weather disasters: after strong winds, sometimes branches break and pruning is added. There is also no need to delay pruning; after the sap flow begins, it is very undesirable to cut trees, this is an inappropriate use of reserves: the roots have already sent sap to the branch, and we took it and cut it off.
Unsuitable weather would be damp and windy, especially if there is a forest in the neighborhood: there are winter fungi that become active during the thaw and actively spread spores. Winter honey fungus is the most dangerous among them for fruit trees. In our case, this turned out to be a very significant factor: winter and spring are damp, the forest is nearby, and there are tons of tinder fungi in the forest.
Fourth condition: you need to know what to cut
This is exactly the topic of our experimental tree, the victim of the first formation – a young peach. For two seasons they carefully cut it along the contour, shortening the growth so that it became thicker and acquired a spherical crown. Moreover, in spring and summer. The peach fought for its growth with all its might, awakening more and more dormant buds. We haven’t seen any fruit for two years, since the peach, as it turns out, bears fruit precisely on young growth.
That is, before you start cutting, it would be nice to learn to distinguish what our pome and stone fruits bear fruit on. Pome trees (apple trees, pears, quince) bear fruit on short fruit branches growing on biennial shoots. Those shoots that are young twigs without branches with light olive bark are young annual growth and will not bear fruit this season – there is nothing to support.
In stone fruits (cherries, plums, cherries, cherry plums, apricots, peach) it is different: all the young growth (thin branches) will bloom and bear fruit. Also for fruiting, stone fruits (not all) grow short bouquet branches extending from the trunk and large branches.
Fifth condition: trimming in the right place
Often, to cut off one or two thin shoots that are not so high, you don’t want to drag a ladder at all. While pruning a neighbor’s pear tree, we walked around and around for a long time, standing on tiptoes, until another tall neighbor pulled up to us. But he wasn’t tall enough either, and he went for a lopper. Two clicks and the shoots flew to the ground. The result turned out so-so – there were stumps left that dried up, and in the summer the branches that grew from them also began to dry out. I had to drag a stepladder and cut it correctly.
In most cases, a lopper is suitable only for very eagle-eyed people. Because they can easily grab half a branch, but doing it in the right place and with high quality is already problematic.
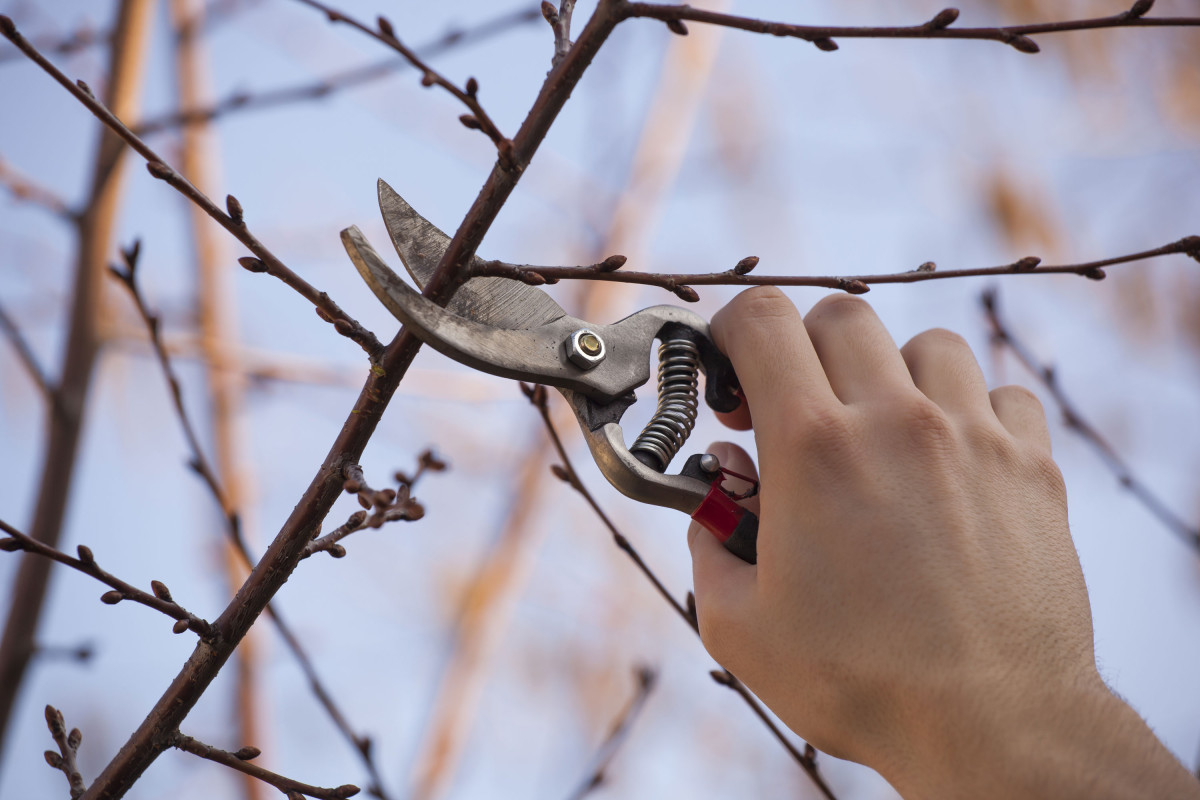
If you need to cut off part of a shoot (a thin branch without branches), this is done directly above the bud. Moreover, not just anyone, but one from which an escape will subsequently grow in the right direction. In this case, the cut is made obliquely 1-2 mm above the kidney. Those who can fulfill these conditions with a lopper can easily use it.
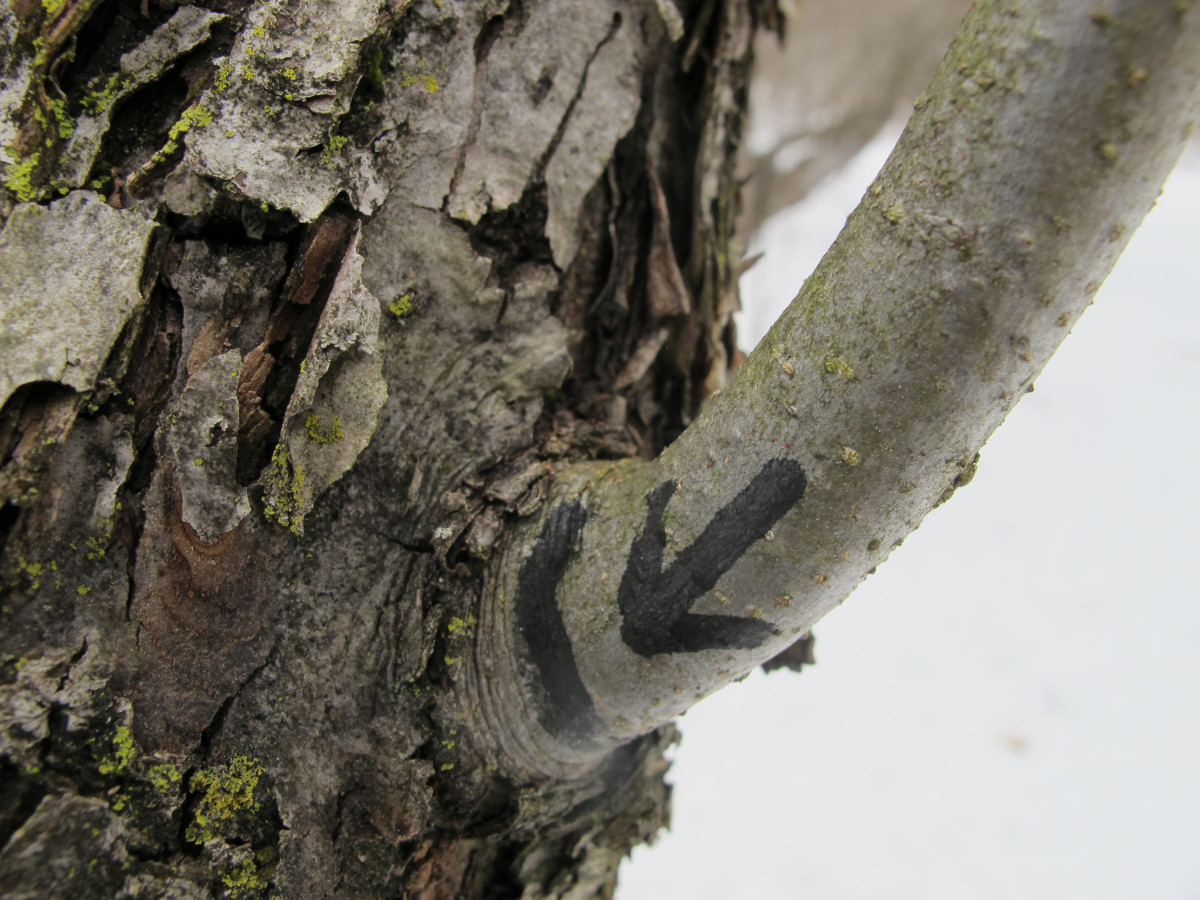
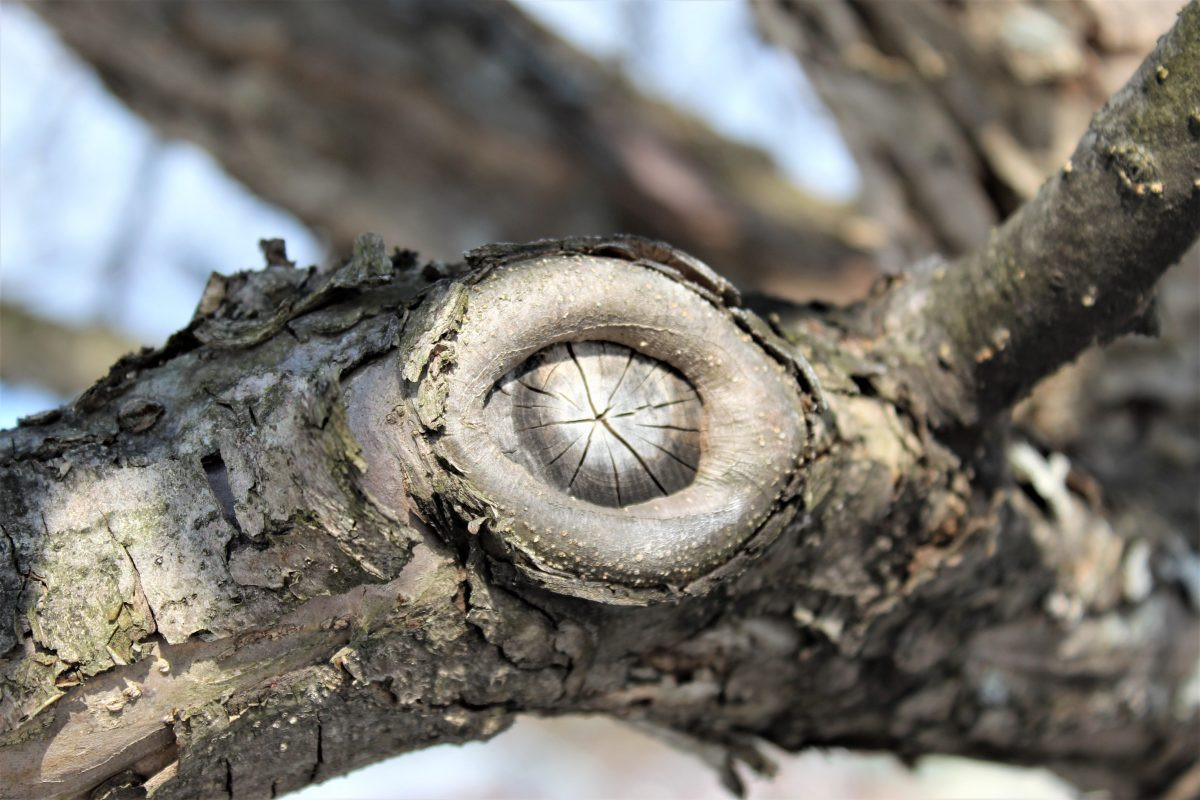
If a shoot or adult branch is removed entirely, the cut is made along the outer edge of the ring, the bulge at the base of the branch. This way the cut area will be overgrown faster and better.
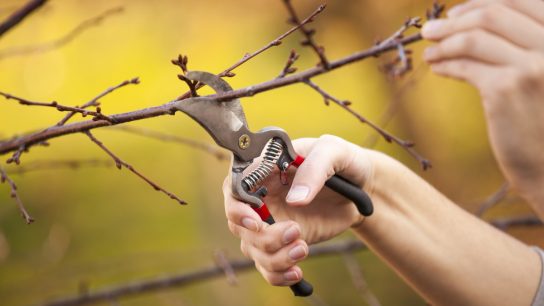
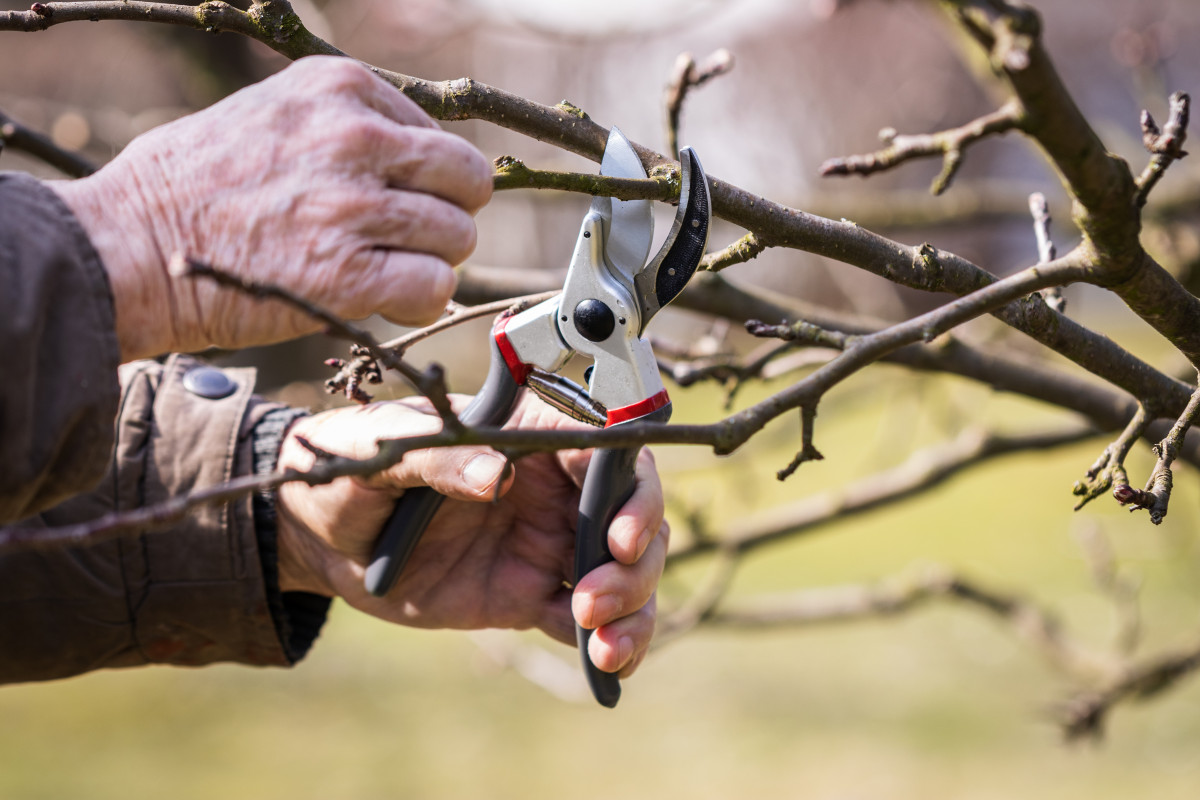
Sixth condition: a suitable tool
As practice has shown, a conventional hacksaw is not suitable for cutting branches. It has large teeth and it is almost impossible to get an even cut without the bark fraying at the edges. A garden file with a fine tooth makes this job much more accurate, although it takes longer.
Secateurs are not the most used garden tool. You need to select it “for yourself” very carefully. A tool that is convenient for a man is rarely convenient for women either. Either the width of the hand is not enough, or the strength is too strong. Here everyone has their own. Sharp, made of high-quality steel, and with comfortable non-slip handles. A dull pruner will crush the wood fibers, an inconvenient one will leave burrs, and a weak one will not allow you to cut the branch evenly and accurately.
The lopper has already been mentioned.
A construction knife with replaceable blades is convenient in the garden for fine work: straightening cuts, trimming burrs of bark and cleaning the contour of a cut.
Seventh condition: clean trimming
A good sharp tool is half the success of quality pruning. Of course, skill is also needed. For beginners, even good pruning shears crush and tear the bark and wood fibers, and the cut looks as if a branch had been chewed off. Practicing on sticks is very harmless.
The healing of wounds on a tree, including cuts, is carried out by the cambium – a thin green layer between the bark and wood. The smoother the edges of the cut, the easier it is for the cambium to overgrow it. If the cut (cut) is not particularly smooth, you need to trim everything along the contour with a sharp blade of a construction knife. Just trim it, and not cut the bark with a chamfer. Then the cambium will carefully grow a crustal ridge around the perimeter, covering the most vulnerable areas.
If you cut down a large branch in one go, you won’t be able to do it carefully—the lower part, falling, tears off a piece of bark from the trunk. For those who are not particularly experienced, it is better to cut down a branch in three steps; for those who are well-trained, it is better to cut it down in two.
Eighth condition: do not mess with trimming the tops
The upper part of the tree trunk, the central conductor, has the sole task of growing upward. Fighting a tree’s tendency to grow upward, especially in shaded areas, is a thankless undertaking. A bunch of powerful young shoots will certainly “shoot” from the buds surrounding the cut, which you will also have to fight with later. An endless topic.
In no case should you cut the tops of columnar trees: this stimulates the growth of side shoots, in addition to a bunch of new ones at the top. Instead of a column, our experimental apple tree now grows like a pyramidal poplar.
If for some reason the crown is not needed, you can try to make it into a fruit branch: bend it and carefully secure it with a stretcher (without damaging the bark). There will be no central conductor, but powerful tops will regularly grow from the bent part.
Ninth condition: do not rush into processing sections
Moisture is always present in living wood, even in winter. And immediately covering fresh cuts with garden varnish fixes this moisture on the cut surface. In addition, putties do not stick to a wet surface; a protected, warm, and cozy cavity is formed, comfortable for bacteria, fungi, and all sorts of small things. It would be better to let the cuts dry and then cover them up.
This is terribly inconvenient, because you have to climb into the crown of the tree a second time and look for what was cut and where. Trying to simplify our life, we tried all sorts of different putties, settled on RanNet paste – it does not create an airtight film, large sections can be covered with it immediately, they dry out under it. We don’t always use paste; often we just dust the cuts with ash, and that’s it. Cuts down to a centimeter don’t need to be processed, but if you dust it with ash, it’s somehow calmer.
Tenth condition: do not leave diseased branches
It happens that after 2-3 pruned trees, enthusiasm has cooled down, and there seems to be no extra time. Nothing particularly scary can be seen on the remaining trees, and it was decided to postpone work with them until the next season. This is wrong. Especially with regard to stone fruits. A small diseased twig may be infected with a tinder fungus. This can be seen by the brown core. And the mushroom moves up the tree quite quickly. If the branch is not cut back to healthy wood this season, next year the entire skeletal branch may be infected. As soon as the mushroom reaches the trunk, you will have to say goodbye to the tree.